Category: SDR
Instalar e usar o RTL-SDR no Windows
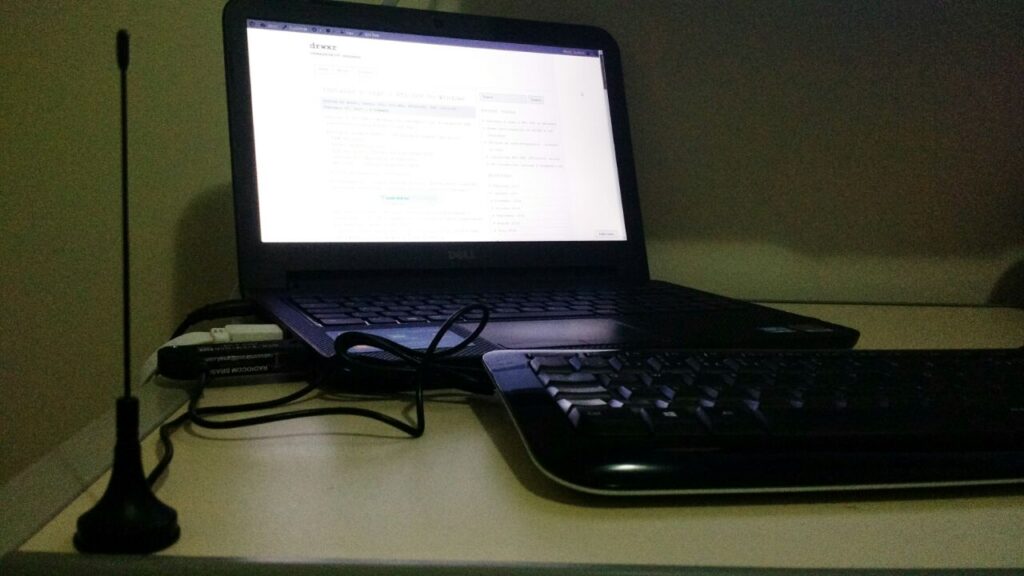
Para uso do RTL-SDR no Windows, recomendamos o uso de um pacote SDR disponibilizado pela Airspy (clique aqui)

Neste post estamos usando o “SDR Software Package” que inclui:
– SDR# rev 1500
– Airspy Calibration Tool
– ADSB Spy rev 37 (Decodificador de sinais ADSB)
– Spectrum Spy (Analisador de Espectro)
– Astro.Spy – Utilitário para astronomia
Se desejar, baixe aqui: sdrsharp-x86
Ao descompactar o arquivo sdrsharp-x86.zip, deve-se estar conectado na internet e executar o seguinte arquivo (install-rtlsdr.bat):

Este arquivo irá se conectar ao servidor da OSMOCOM e baixar o driver para o RTL-SDR e também fará o download do Zadig, responsável por instalar o driver do RTL-SDR.
* Neste instante, plugue seu dongle do RTL-SDR e não instale nada que o Windows venha a propor de forma automática.
Na pasta criada a partir do sdrsharp-x86.zip, execute o arquivo zadig.exe como administrador:

Dentro do Zadig, selecione no menu Options > List All Devices de forma a deixar a opção selecionada:

Conforme exemplo acima, ele já encontrou 6 dispositivos (vide barra inferior).
* Neste caso, o Zadig já encontrou o driver referente ao RTL-SDR, na figura abaixo como “RTL2838UHIDIR”, no entanto, conforme Quick Start Guide usado de referência, pode ser o caso que o driver não faça referência direta ao RTL e pode aparecer algo como “Bulk-In, Interface (Interface 0)”.
Garanta que a seta esteja apontando para WinUSB e clique em “Replace Driver”


Em seguida podemos verificar (na pasta criada a partir do sdrsharp-x86.zip) os seguintes aplicativos já mencionados:

Execute o SDRSharp.exe e já defina como “Source” o RTL-SDR (USB):

Em seguida clique em “Play” e o SDR# já irá iniciar a captura:

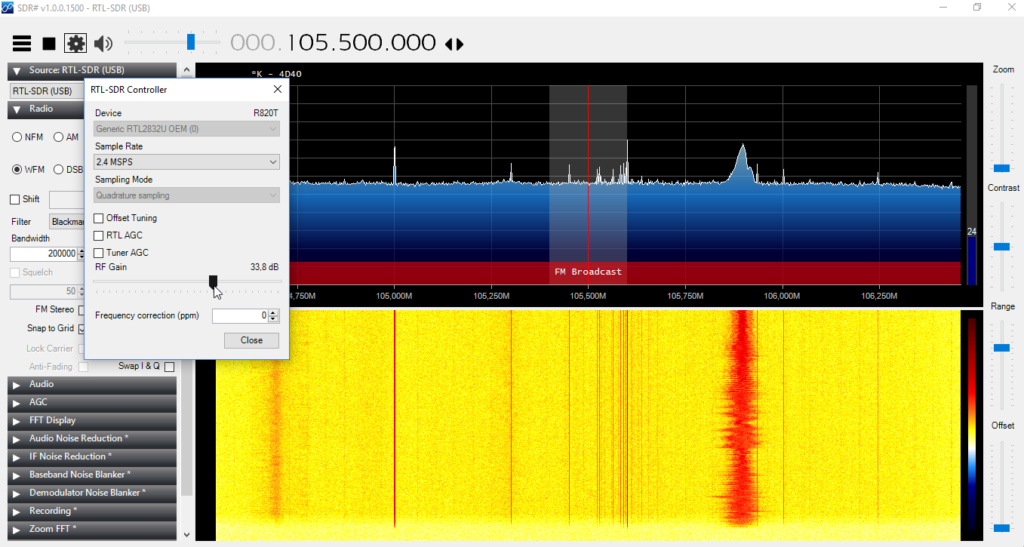
* Importante! Lembrar de ajustar o ganho RF. Um ganho de “zero” só irá captar sinais muito forte por isso é necessário ajustar o ganho até aparecer o sinal desejado (no exemplo acima nenhum sinal está sendo captado). Para ajustar o ganho, clique em configurações e em seguida ajuste o “RF Gain”:


A partir de agora, seu RTL-SDR está configurado no Windows! Agora é procurar projetos para praticar e começar a fuçar com o RTL-SDR.
Qualquer dúvida, use o espaço de perguntas ou entre em contato.
* Post elaborado usando o Windows 10
Replay Attack – Doorbell
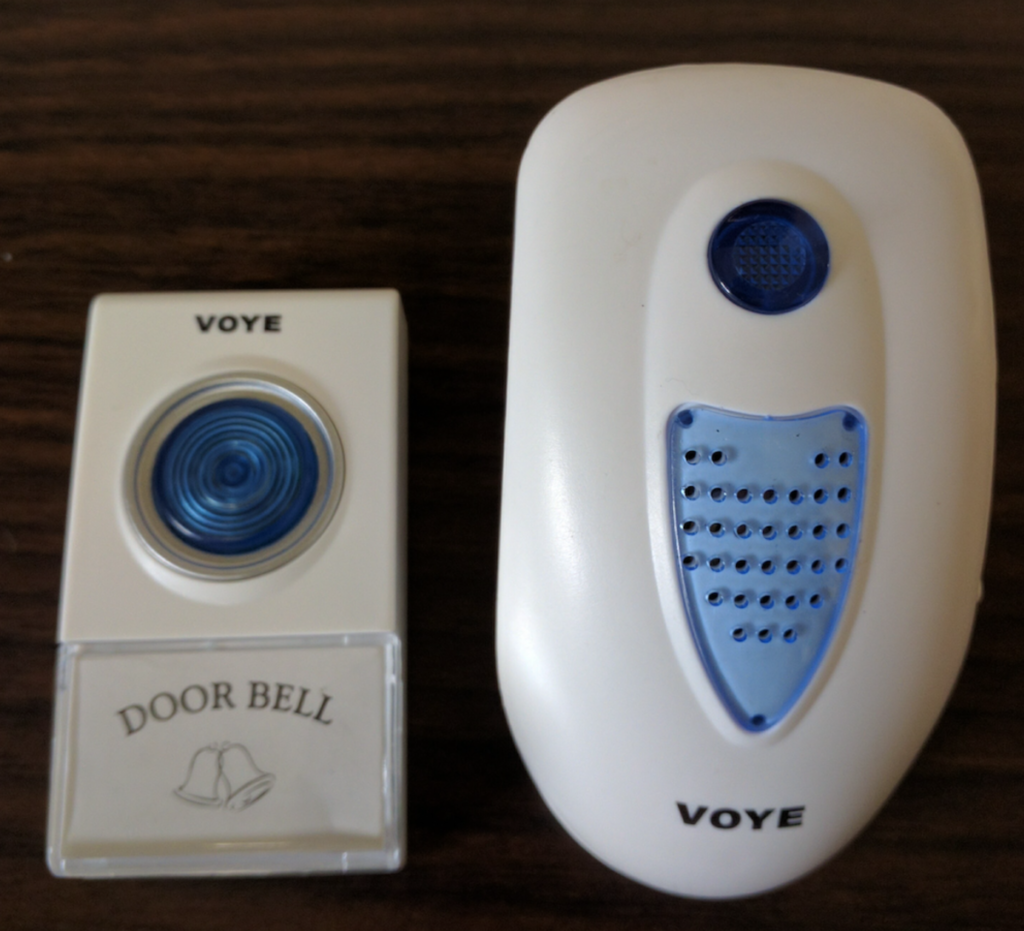
Recently I bought a low cost wireless doorbell so I decided to analyse the RF communication and reproduce a replay attack.
To accomplish the attack I used an Ettus USRP2 N210 SDR (Software Defined Radio), a Voye wireless doorbell and GNU Radio.
The replay attack (also called as playback attack) is simple and very interesting attack, it works by simply recording a signal and then rebroadcasting it once it used a “fix code” signal to activate the doorbell.


GNU Radio
GNU Radio Companion (GRC) is a graphical tool for creating signal flow graphs and generating flow-graph source code.
More info: http://gnuradio.org/redmine/projects/gnuradio/wiki/GNURadioCompanion
Identifying the signal
Usually doorbells operates at frequencies of 433Mhz (Europe) or 315Mhz (America), it was first noticed the frequency of 433Mhz in order to get signal but nothing was found. Analyzing the 315MHz frequency we found the signal from the doorbell transmitter.
We used GQRX to clearly identify the frequency:

Capturing the signal
We recorded the signal from the doorbell transmitter in GNU Radio into a RAW file.
We’re using 2e6 (2M) as Sample Rate and this value should be used in every step.

Opening this up in AUDACITY we can see groups of pulses making up a single button press and we can identify this is a OOK (On-Off Keying) Signal.

On zooming in to a button press, we can see these button presses are made up of similar looking groups.

Notice that we’ve exported 4 sequences because the receiver has a error rate and it needs to receive more than 1 package of bits.
We gonna export using the following configuration:

Transmitting the signal
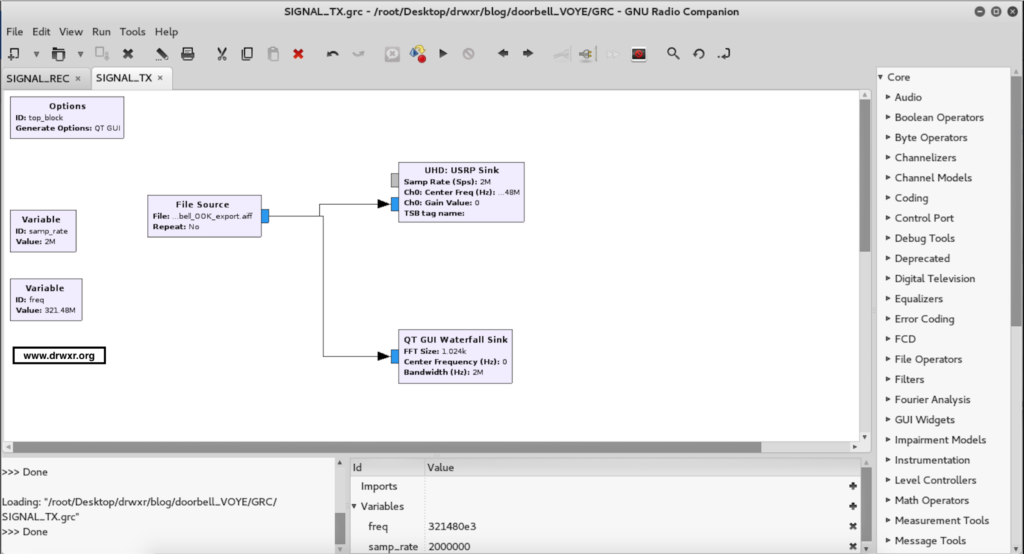
Finally, the last step was to create a flow graph to transmit the raw signal isolated.

After executing the doorbell will ring…
Video of replay attack: